3080 Ti FE
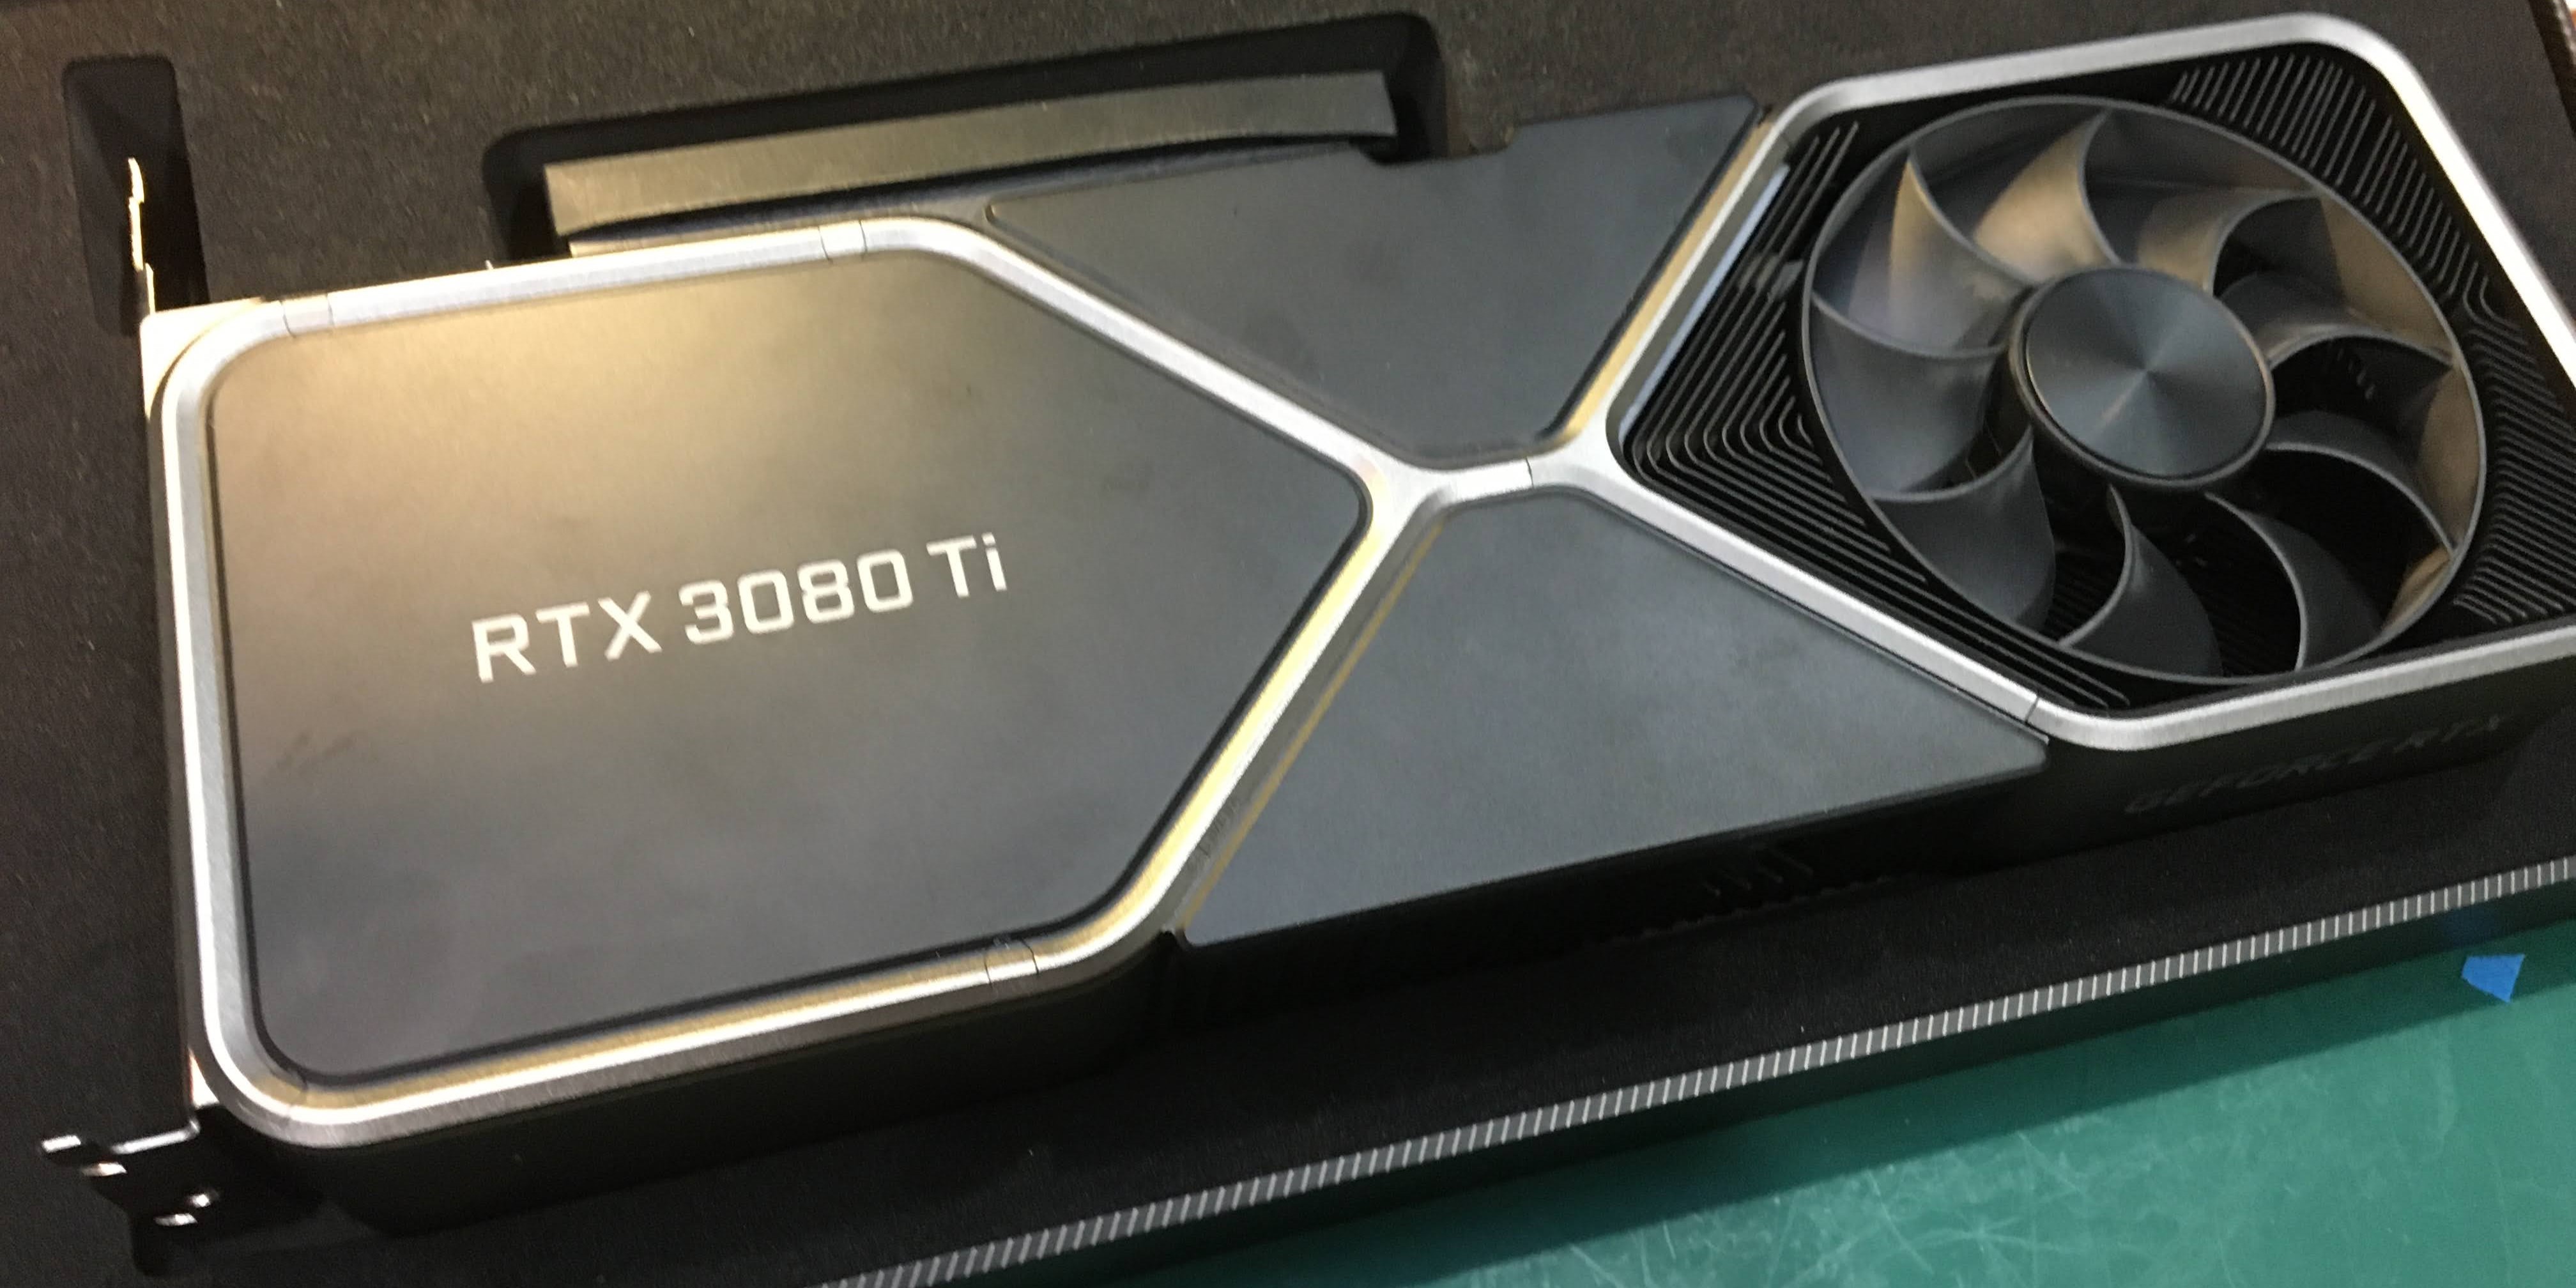
The stock thermal pads included with the Founders Edition 30-series GPUs prioritize longevity over optimal cooling performance. Better cooling, and thus increased GPU performance can be achieved by upgrading to thermal pads optimized for superior cooling, and then replacing them every couple years necessary.
Requirements
 I use all of the following to perform this upgrade:
- small phillips and torx screwdriver set
- small plastic or wooden scraper
- calipers, precision knife, cutting board
- isopropal alcohol, cotton swabs, microfibre cloth
- thermal pads: [1.5mm die-side / 2.0mm - backside]
Dissasembly
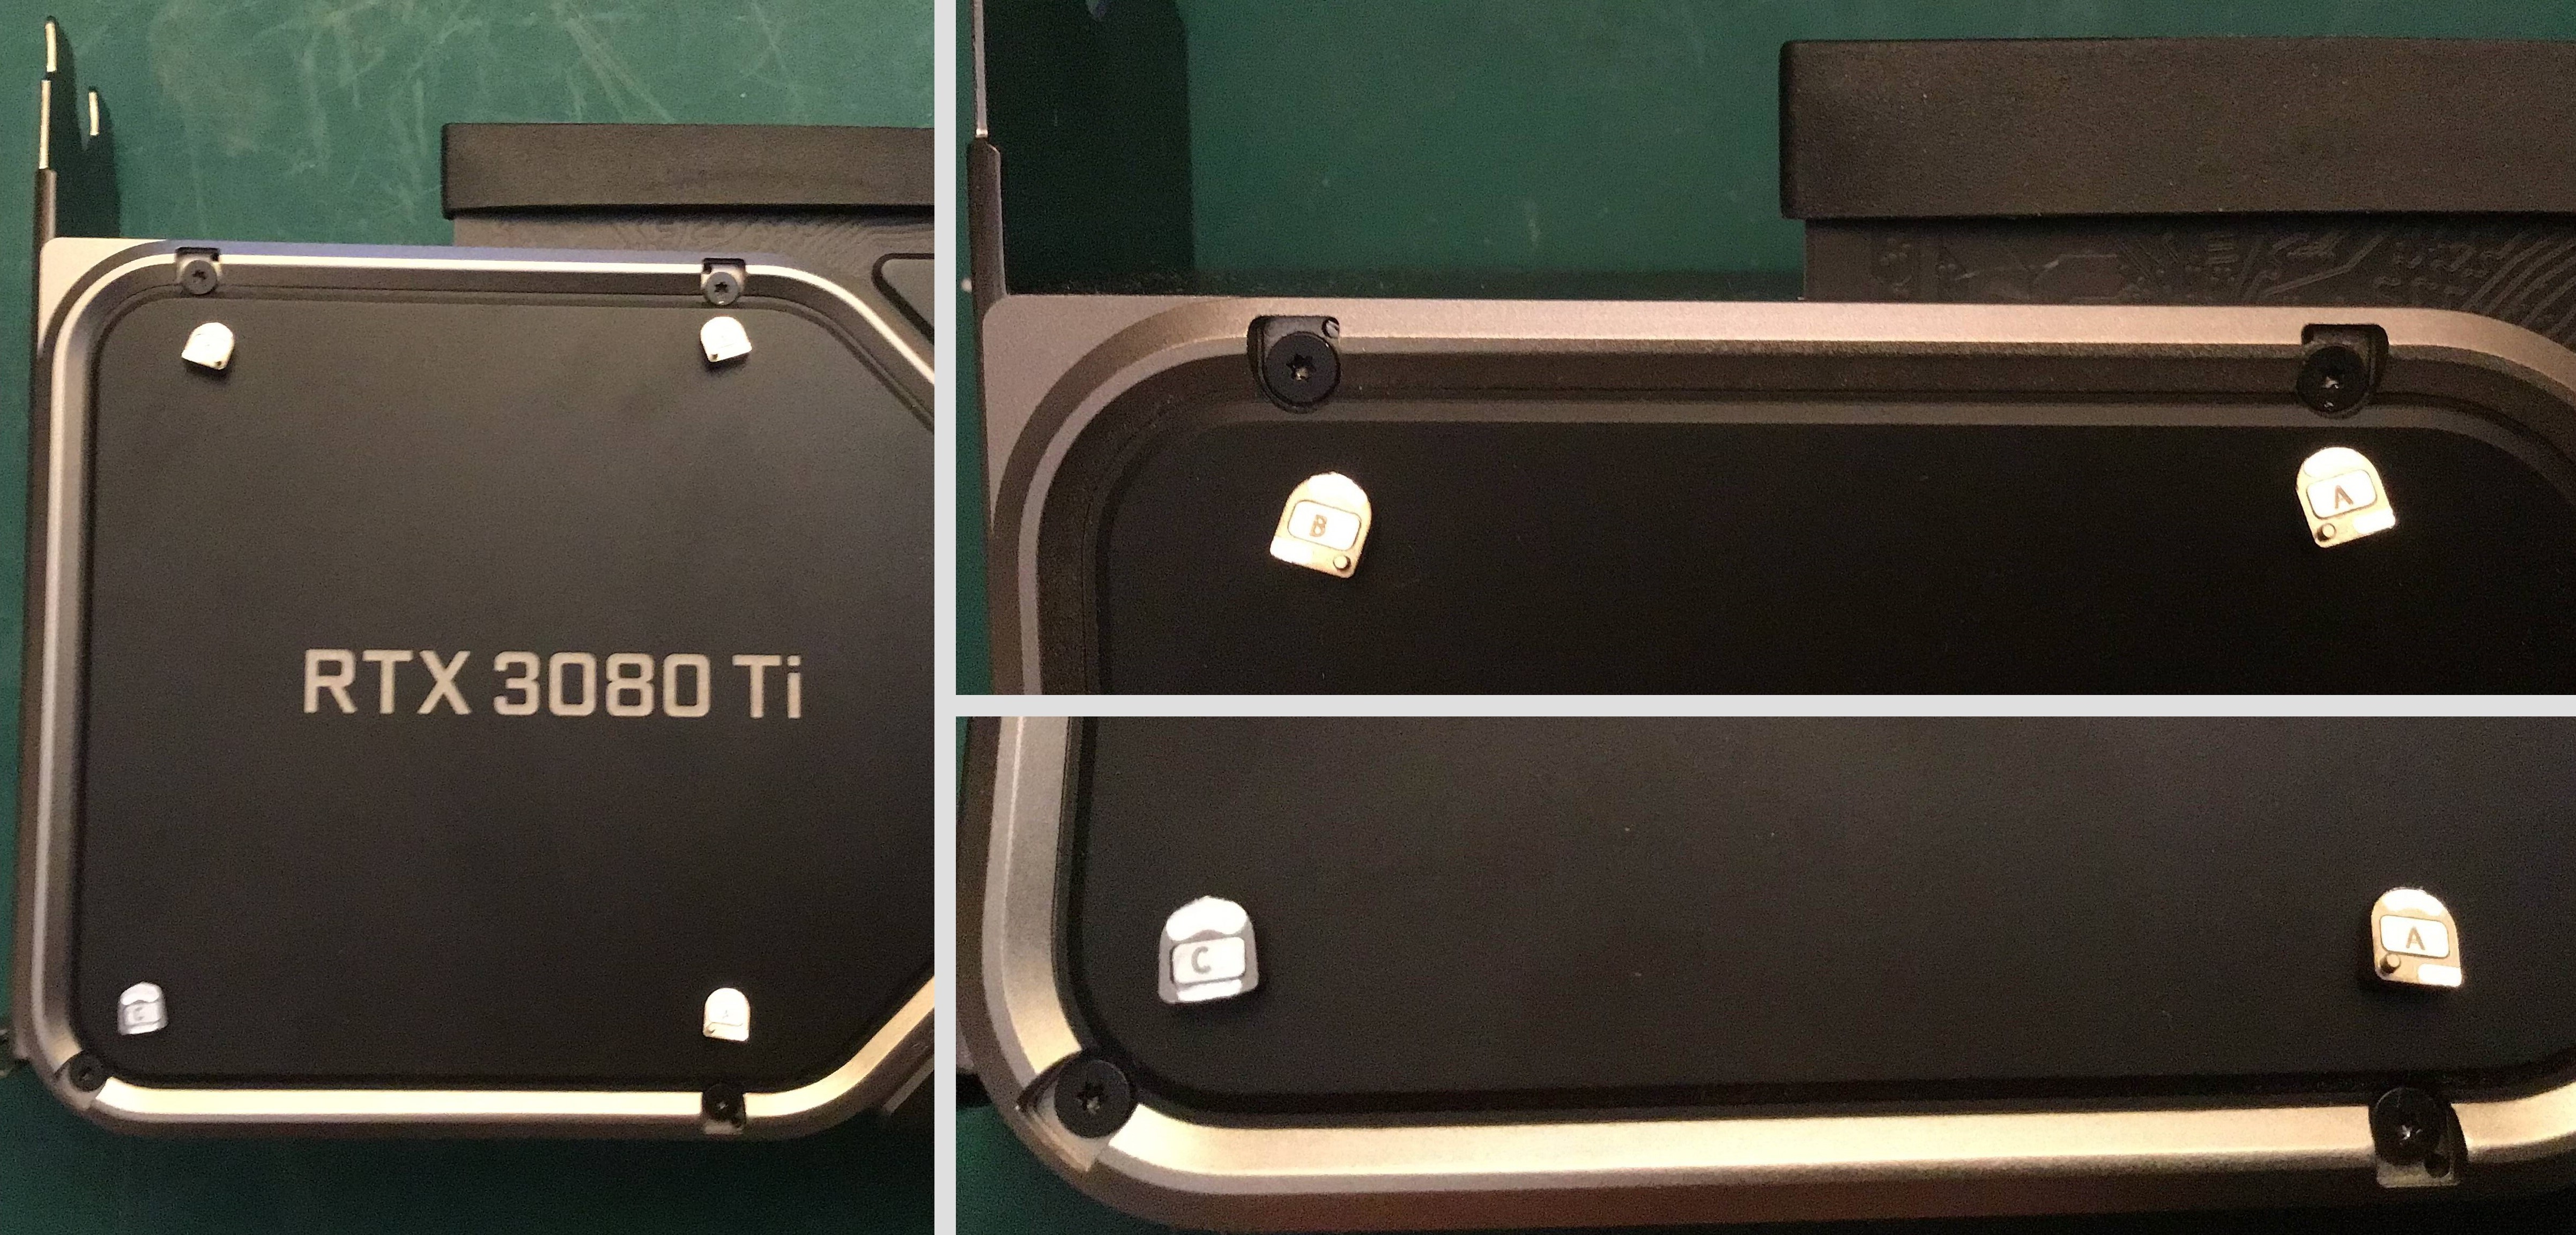 The first step to accessing the four T5 torx screws is removing small magnetic covers with the aid of sticky tape. Take care not to mix up the covers whem reassembling as they are unique.
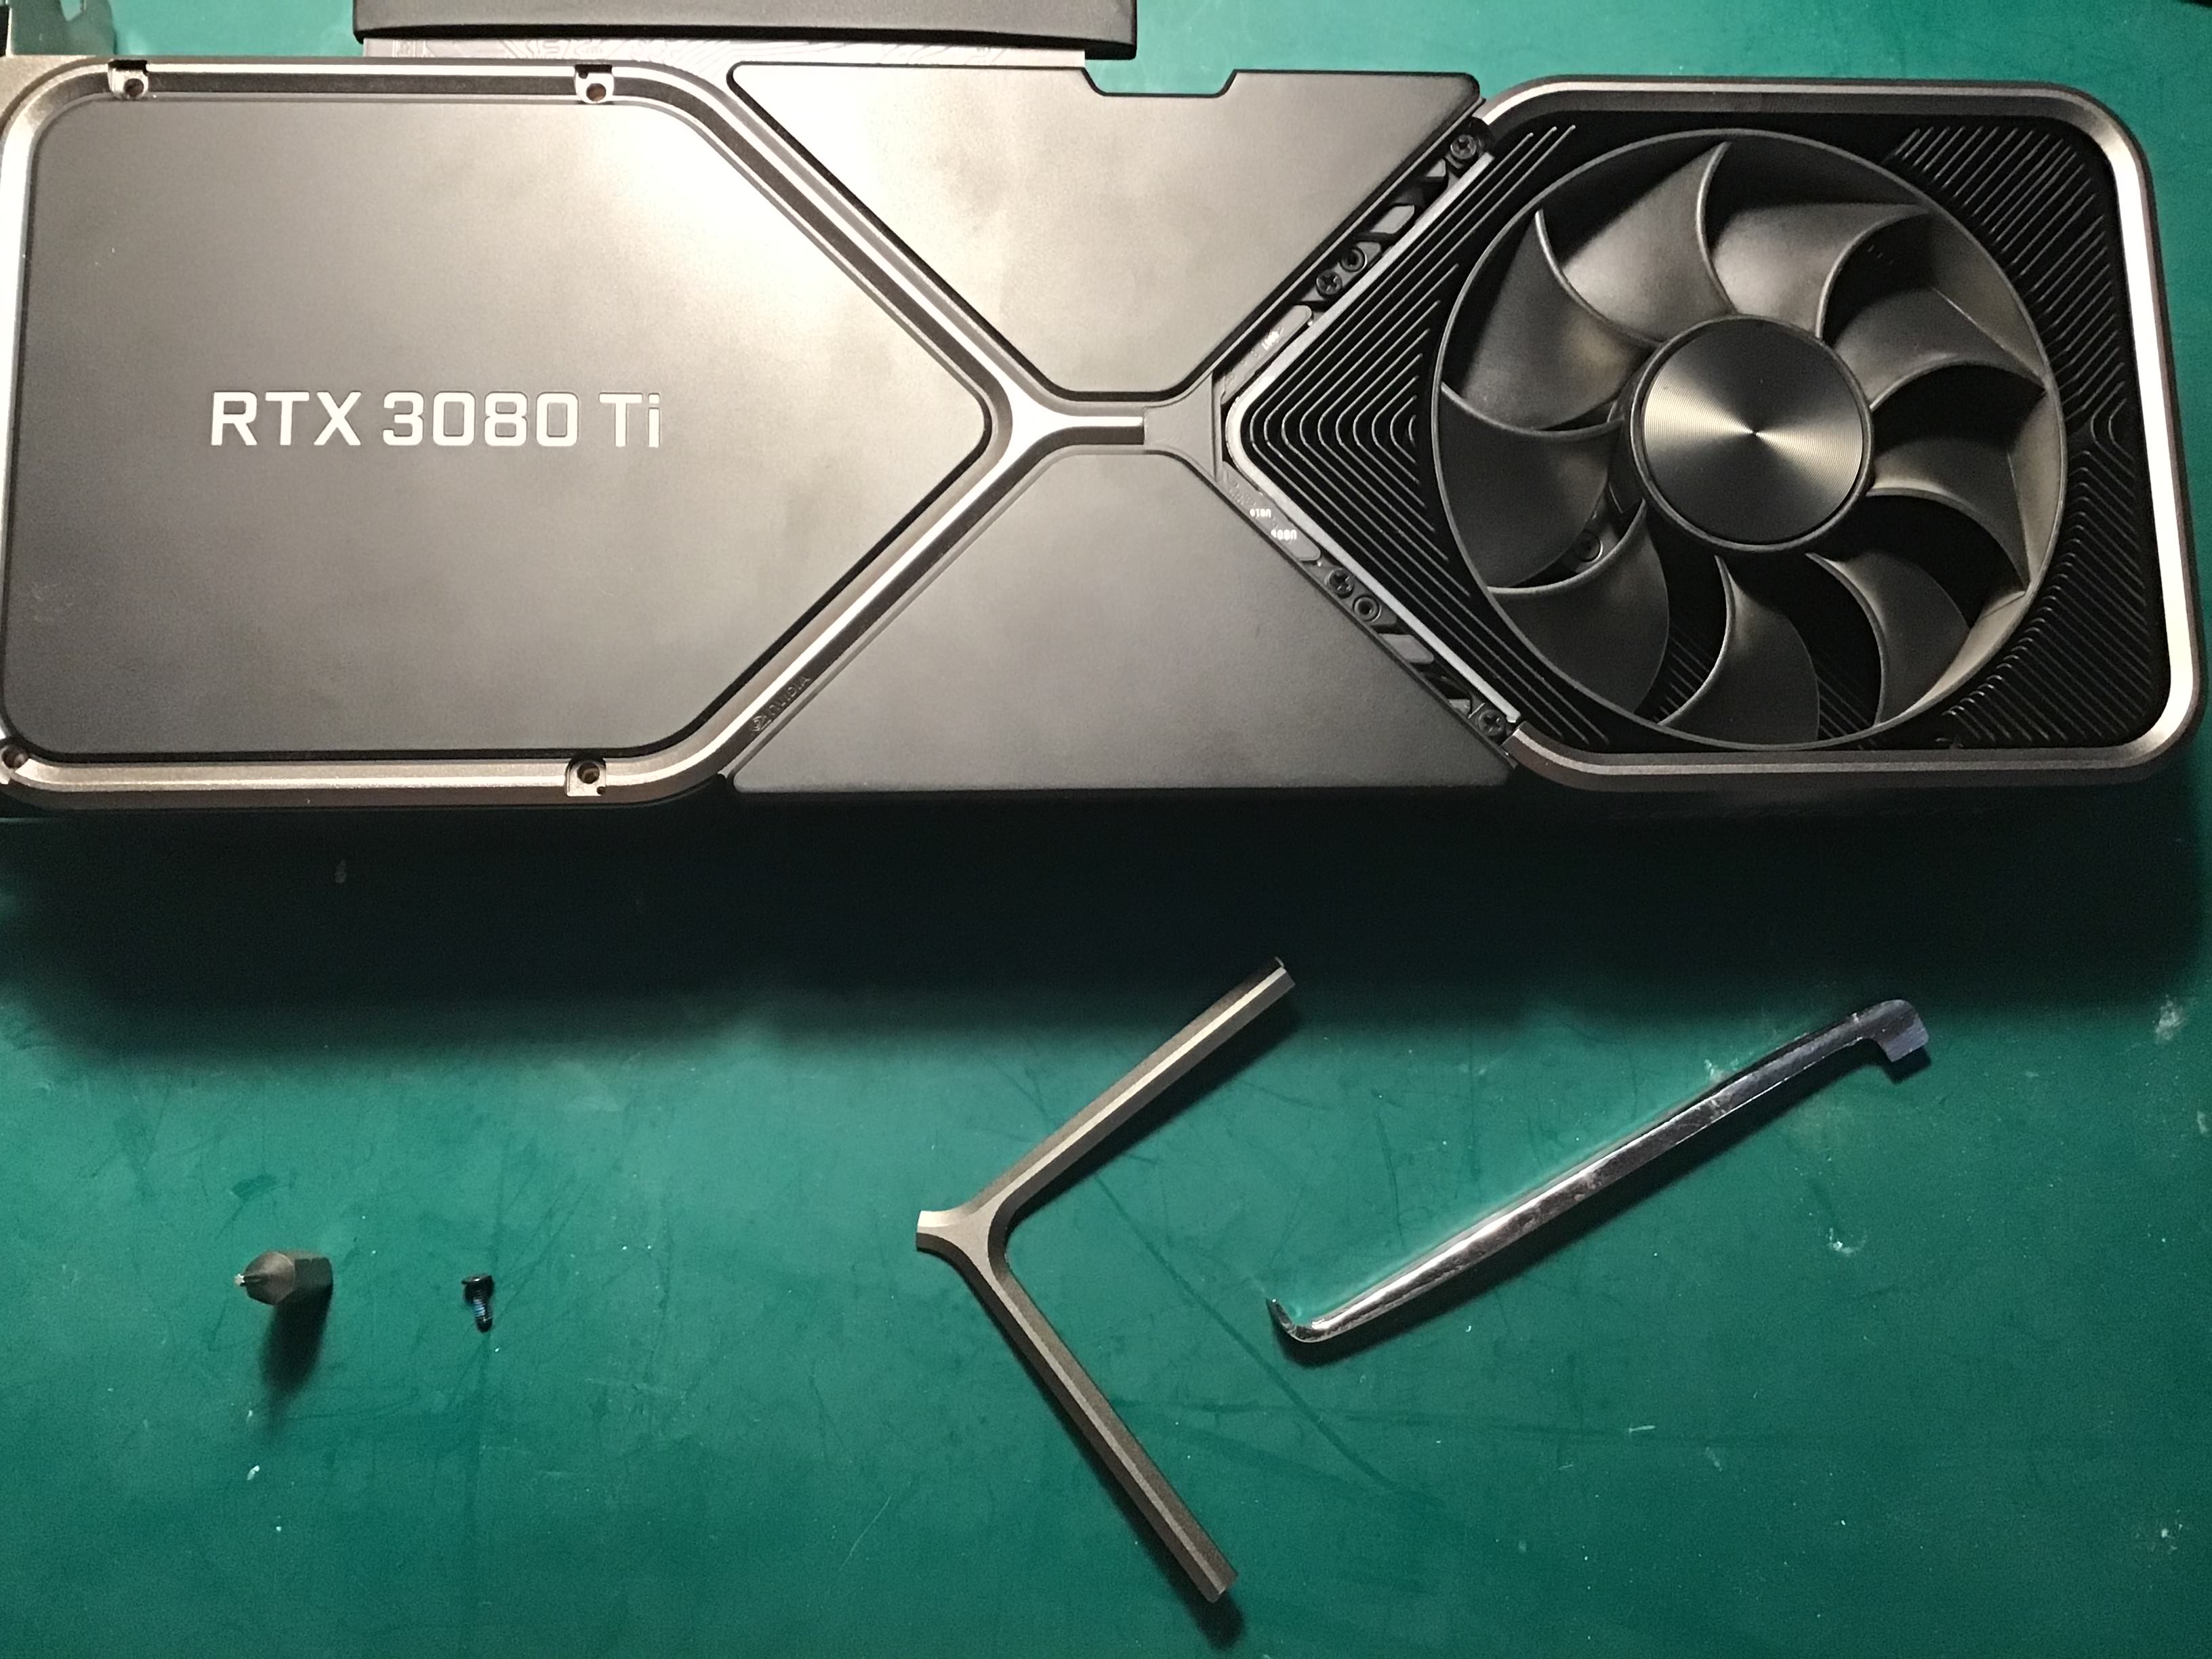 Now with a small fine edge remove the wishbone cover to expose 4 phillips screws underneath. After removing the these screws the backplate can be removed, exposing the backside of the PCB.
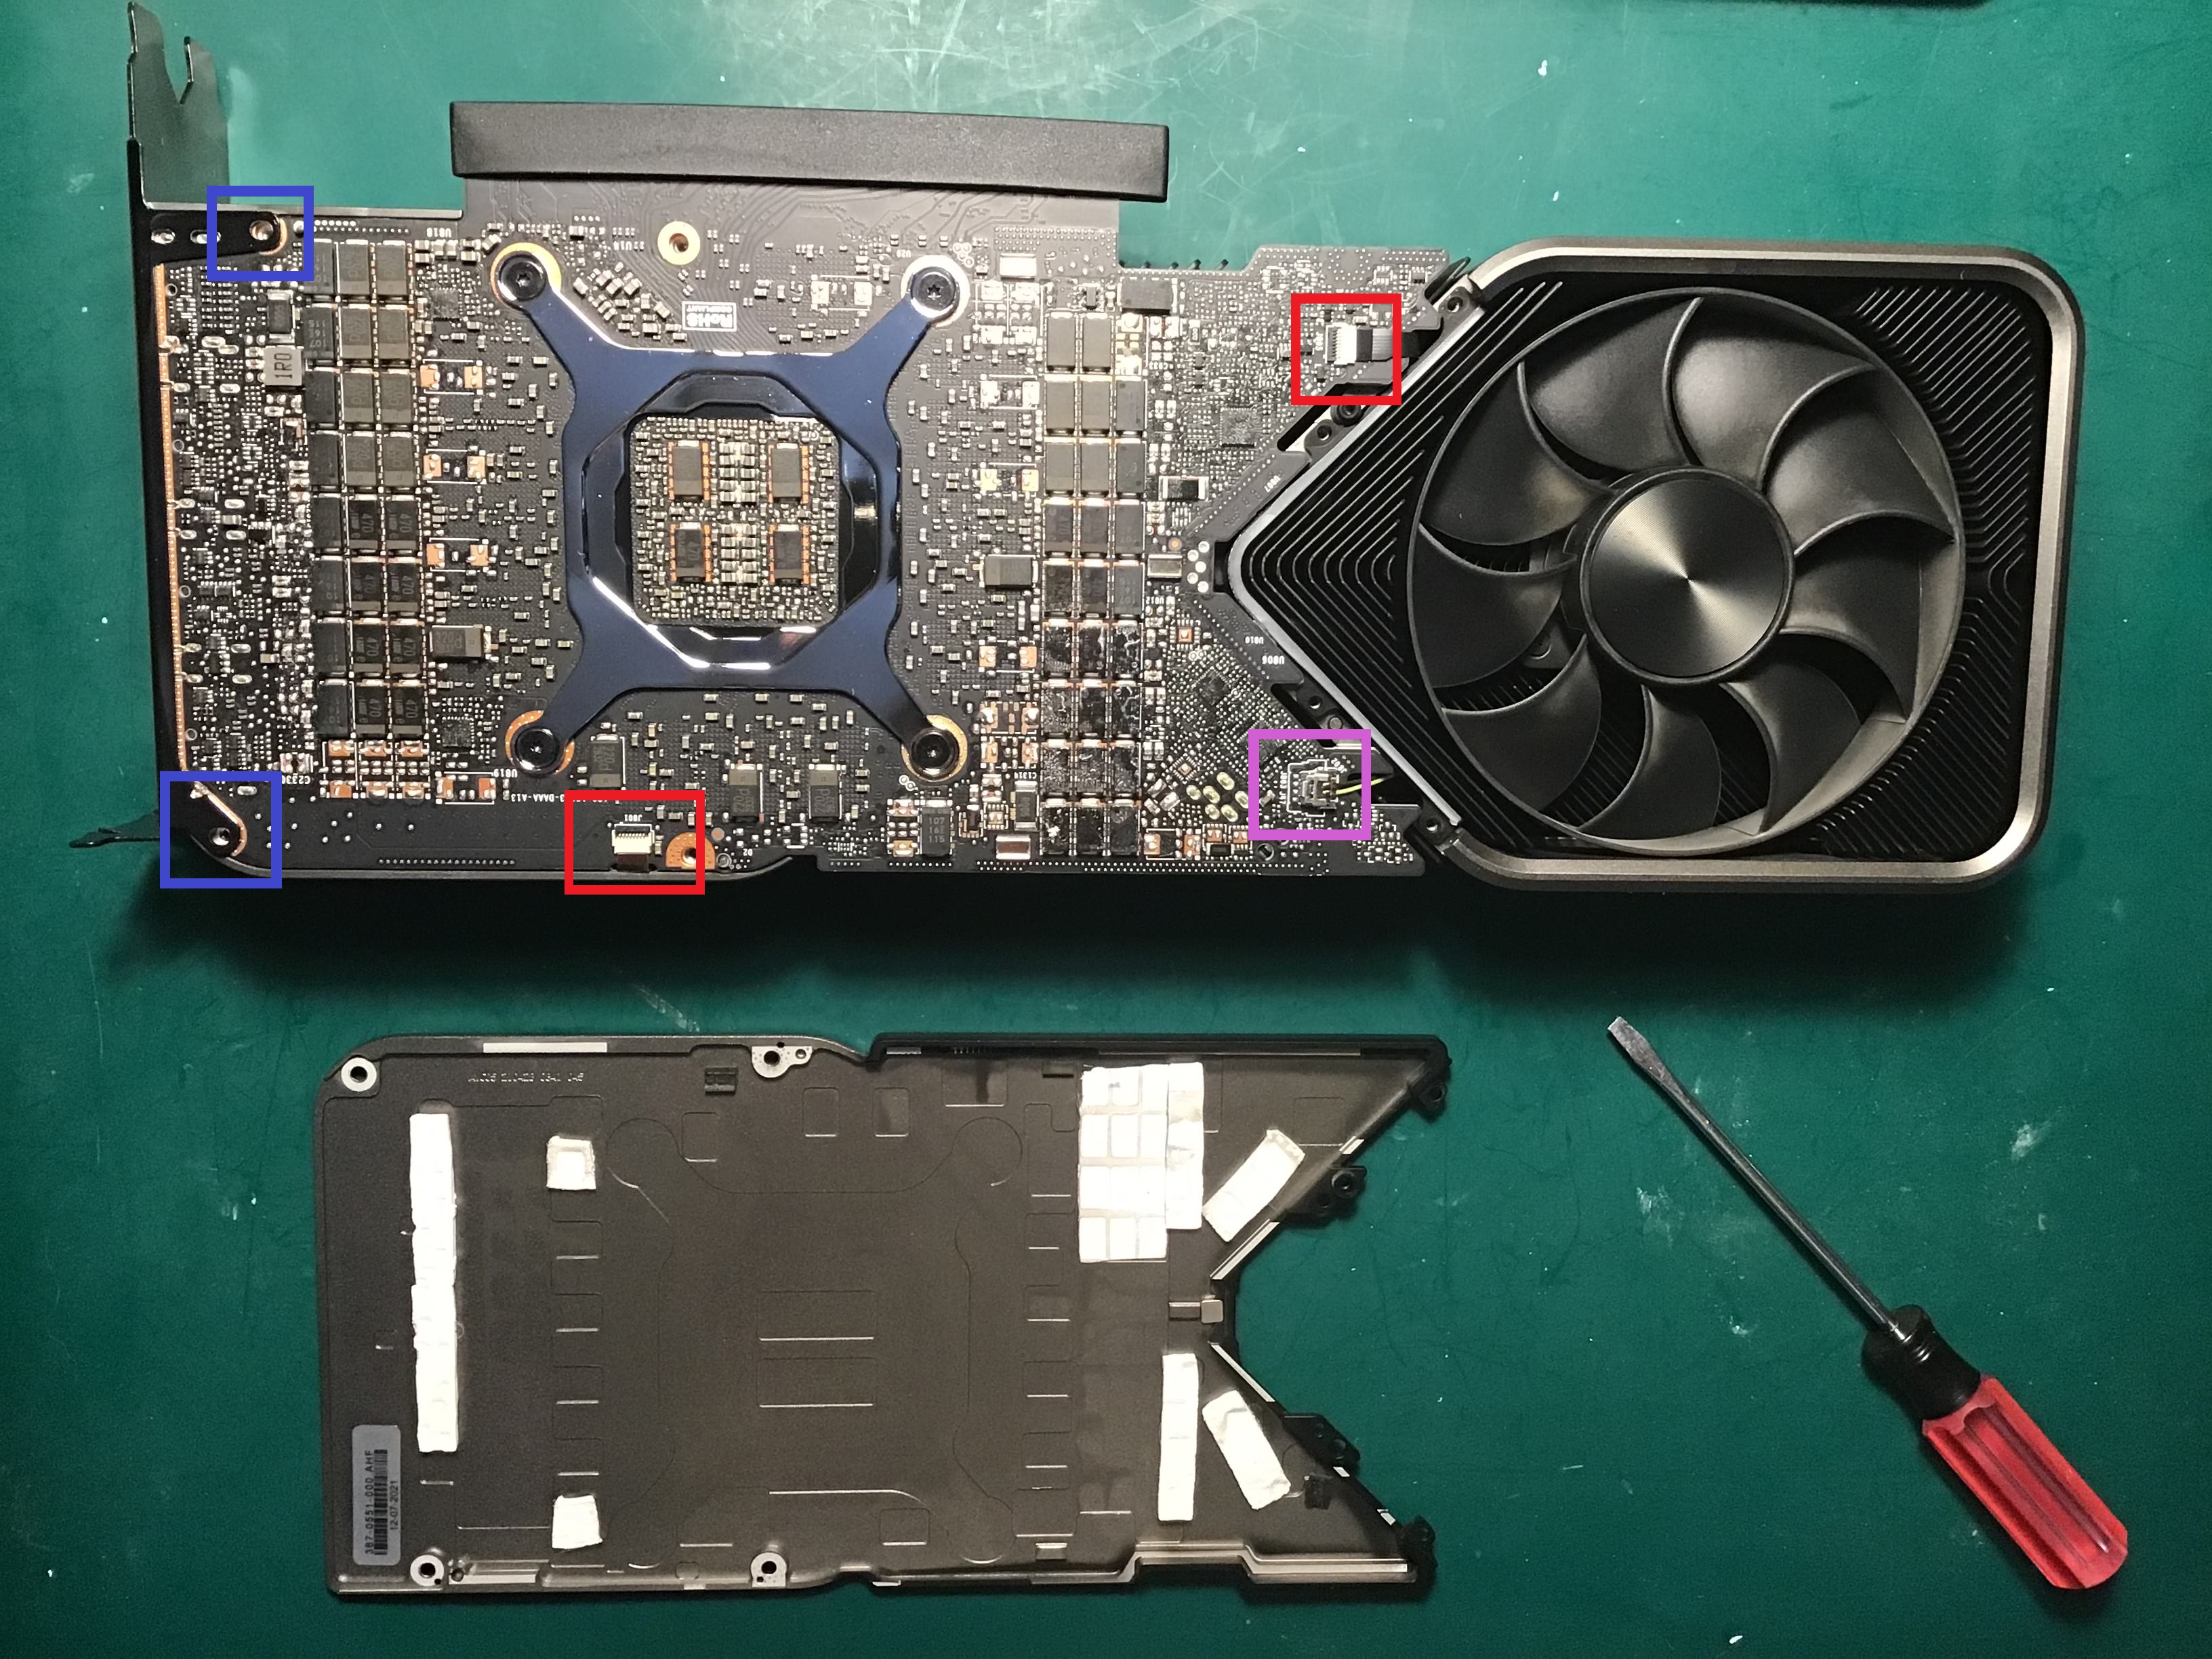
Take extra caution with delicate cables
The 2 ribbon cables (Red) are removed by lifting their tabs carefully and then gently wiggling them out.
The LED cable (Pink) is detached by gently lifting the cable header stright up.
The IO shield is secured in place by six Torx 8 screws, two of which are shown (Blue). Additionally, there are four screws on the side of the IO shield above the DP/HDMI ports (not shown).
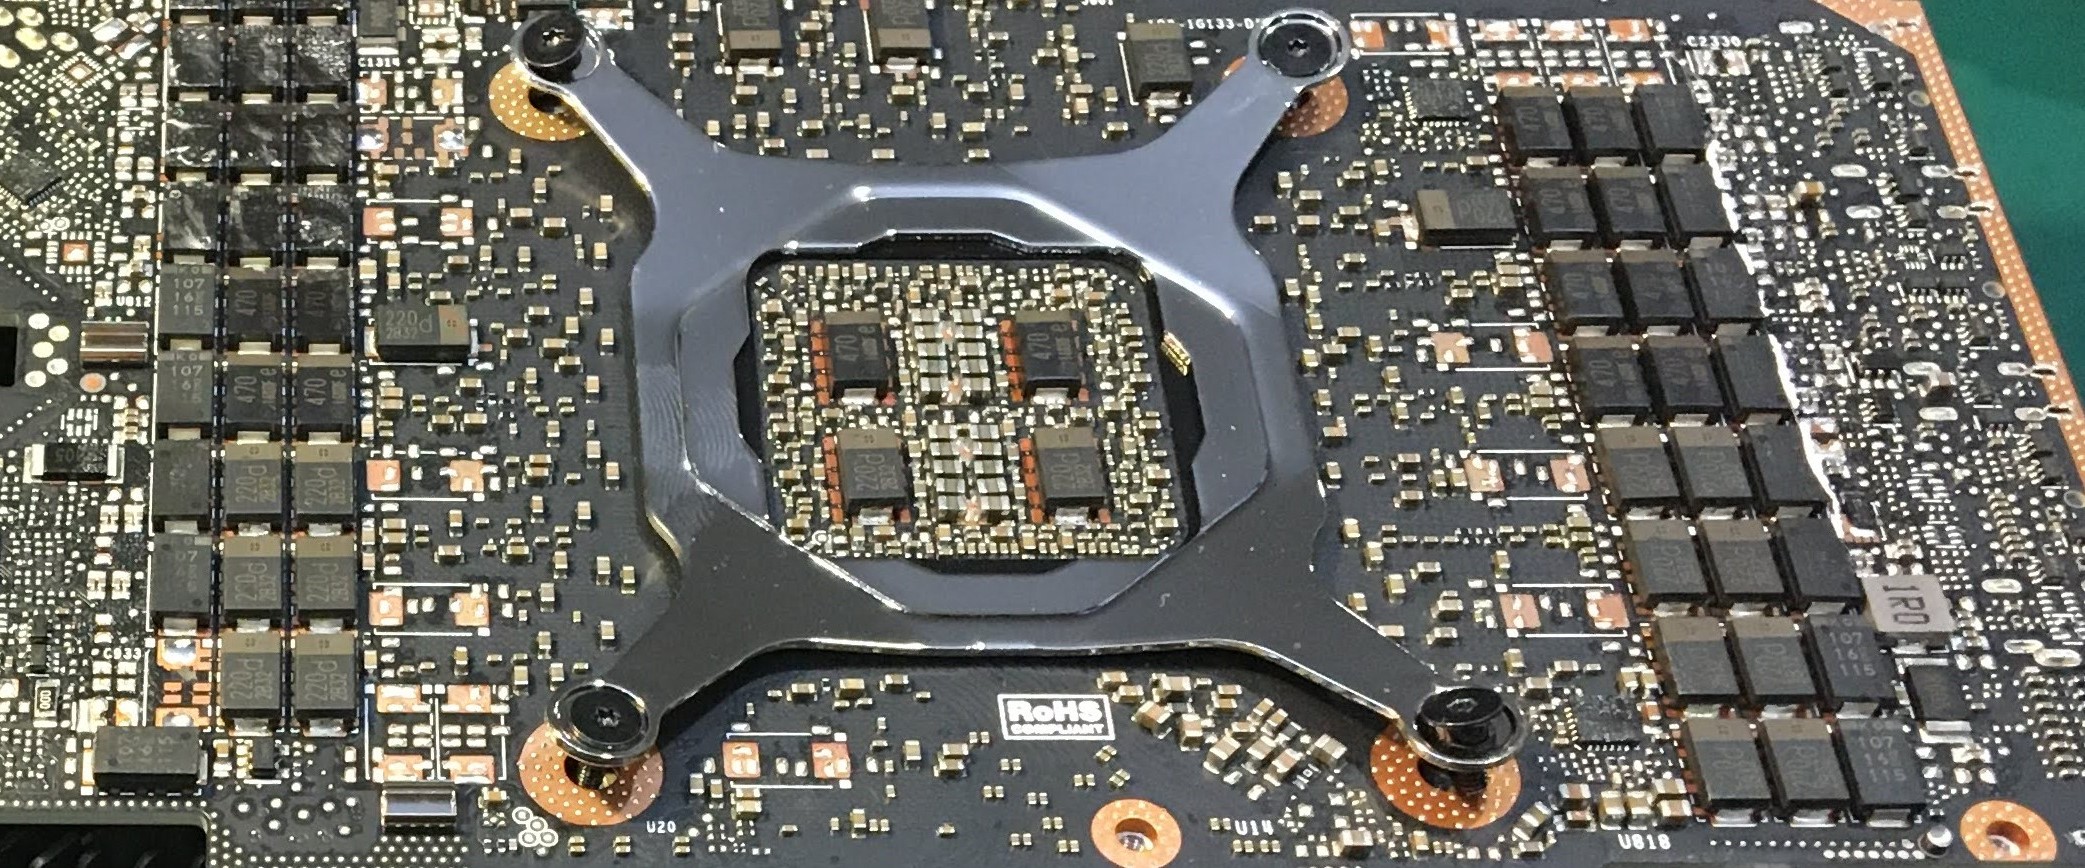 Note the natural convex shape of the backplate when it is unfastened. The four Torx 5 screws need to be unscrewed in multiple steps to evenly release pressure.
The PCB is now free to be removed independently.
 Now that the PCB has been removed, the next step is to clean off all the existing thermal pads and paste.
Cleaning
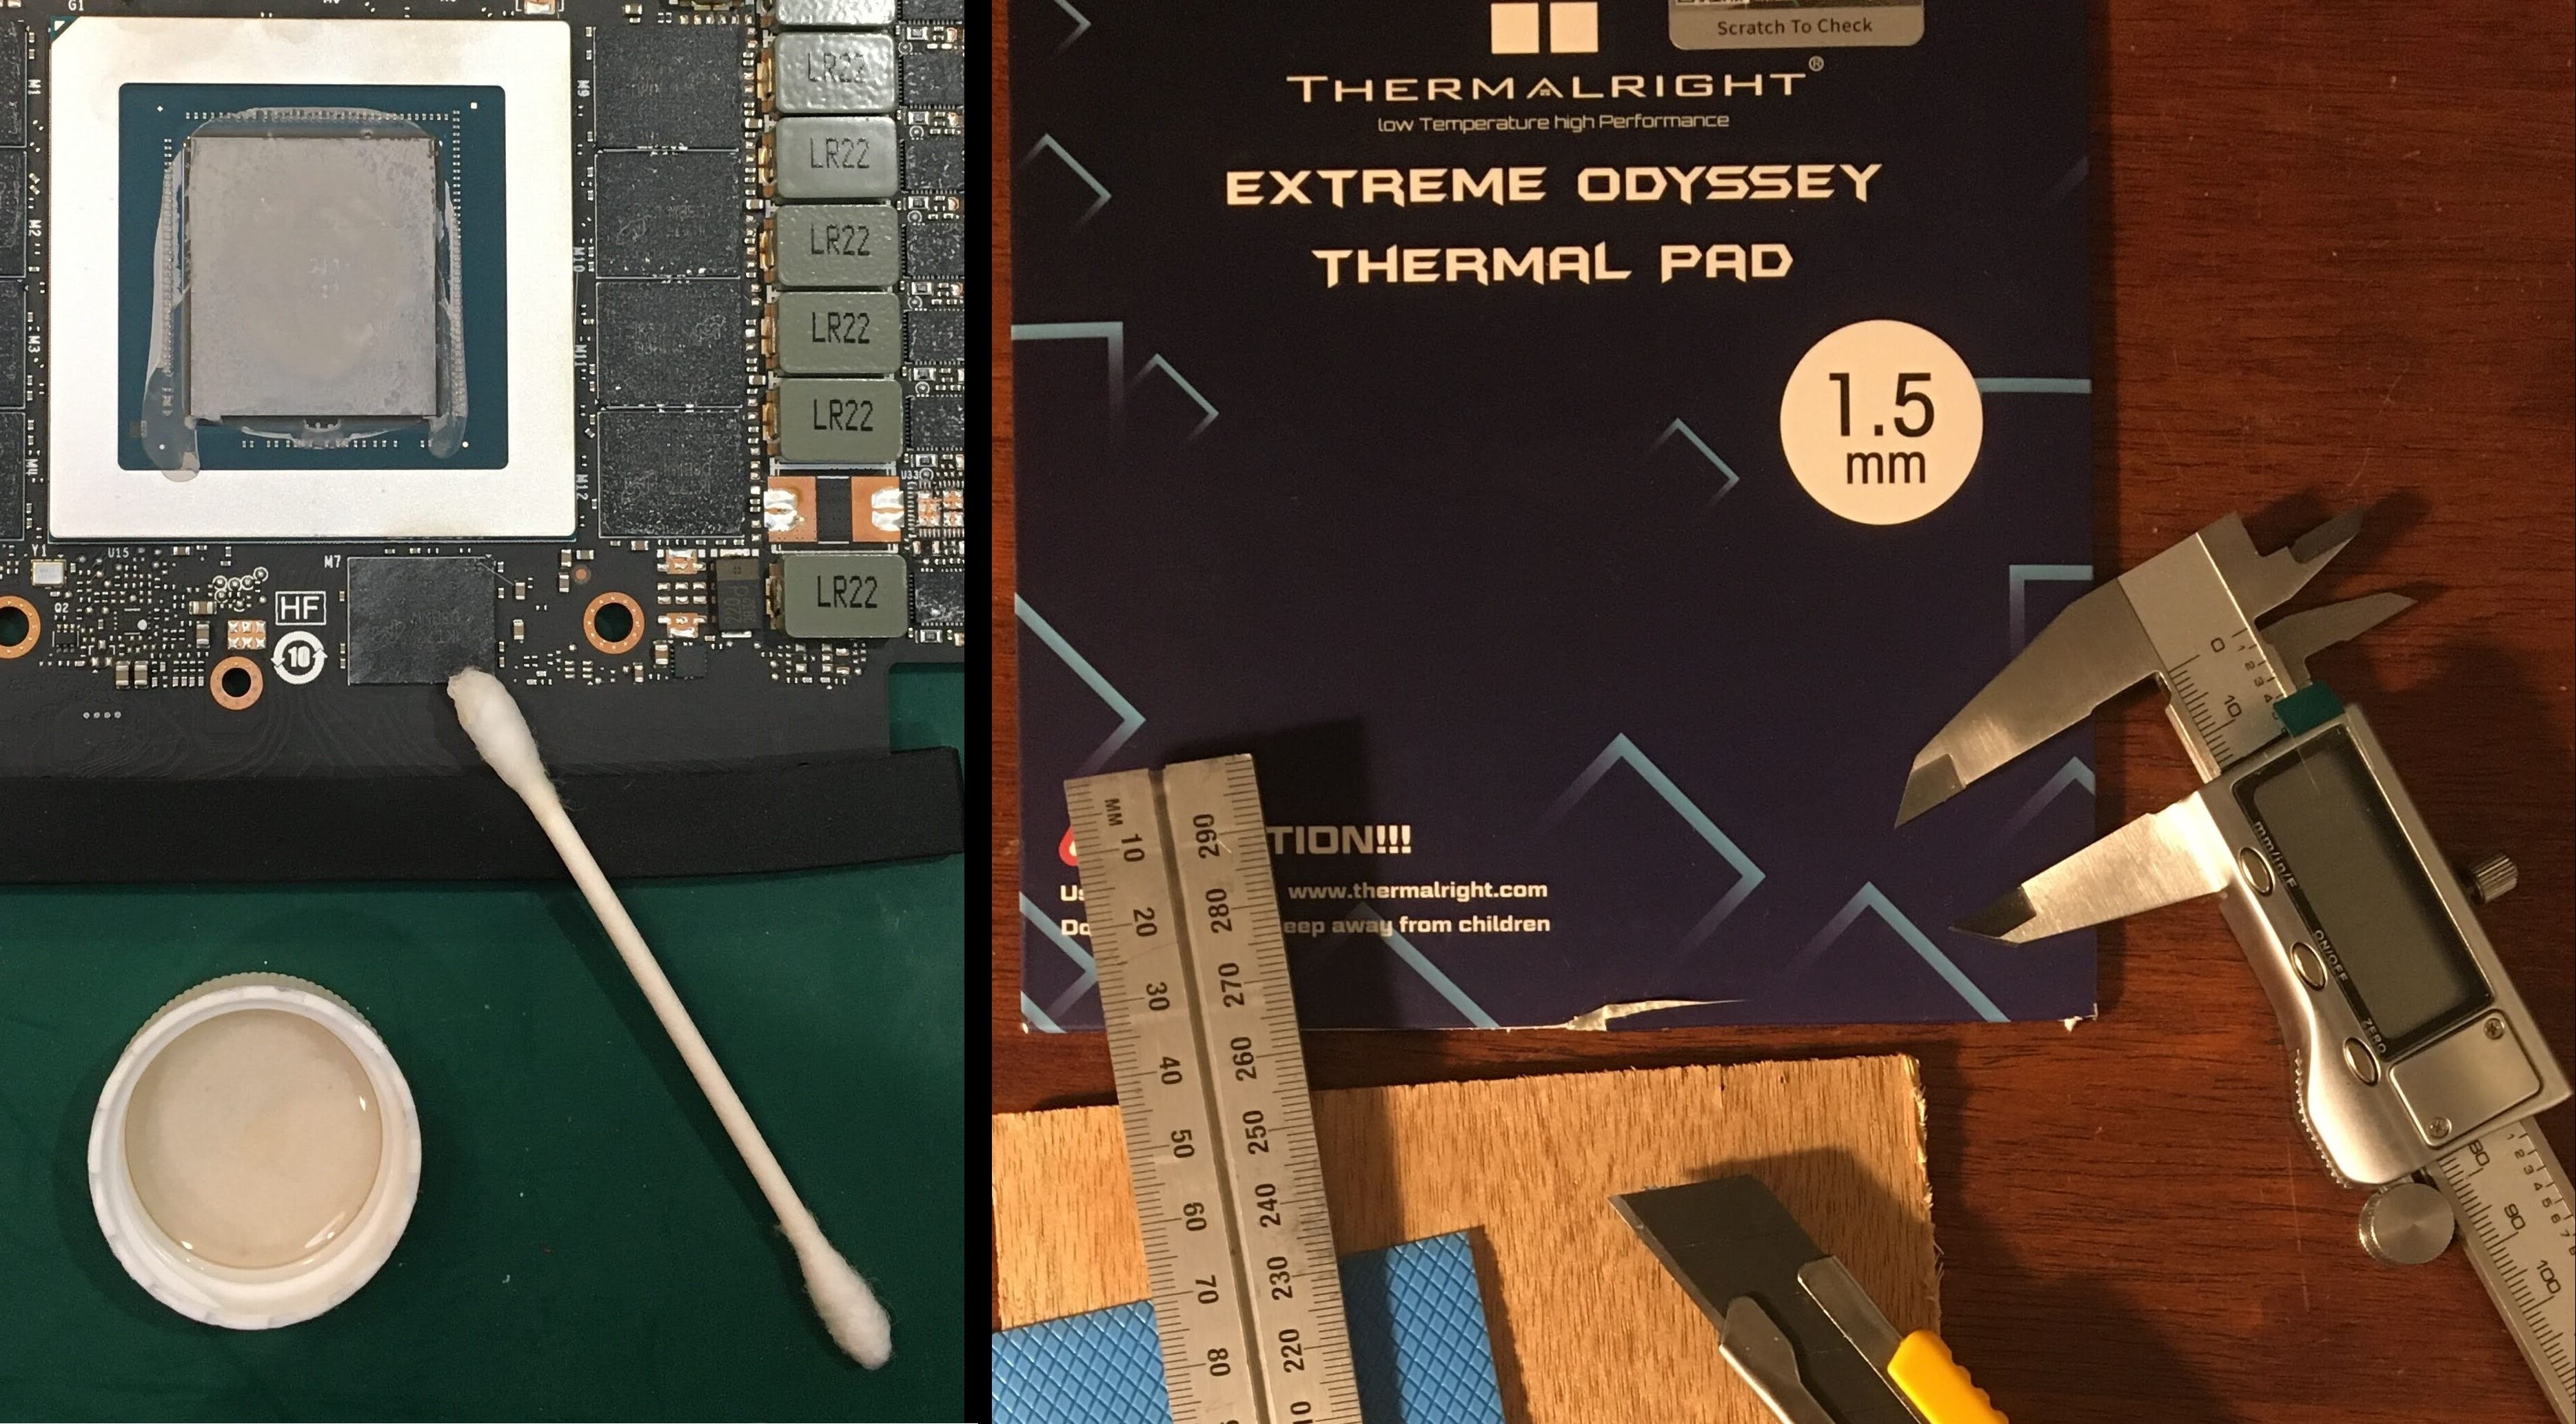
 It’s recommended to use isopropyl alcohol along with cotton swabs and a microfiber cloth for this task.
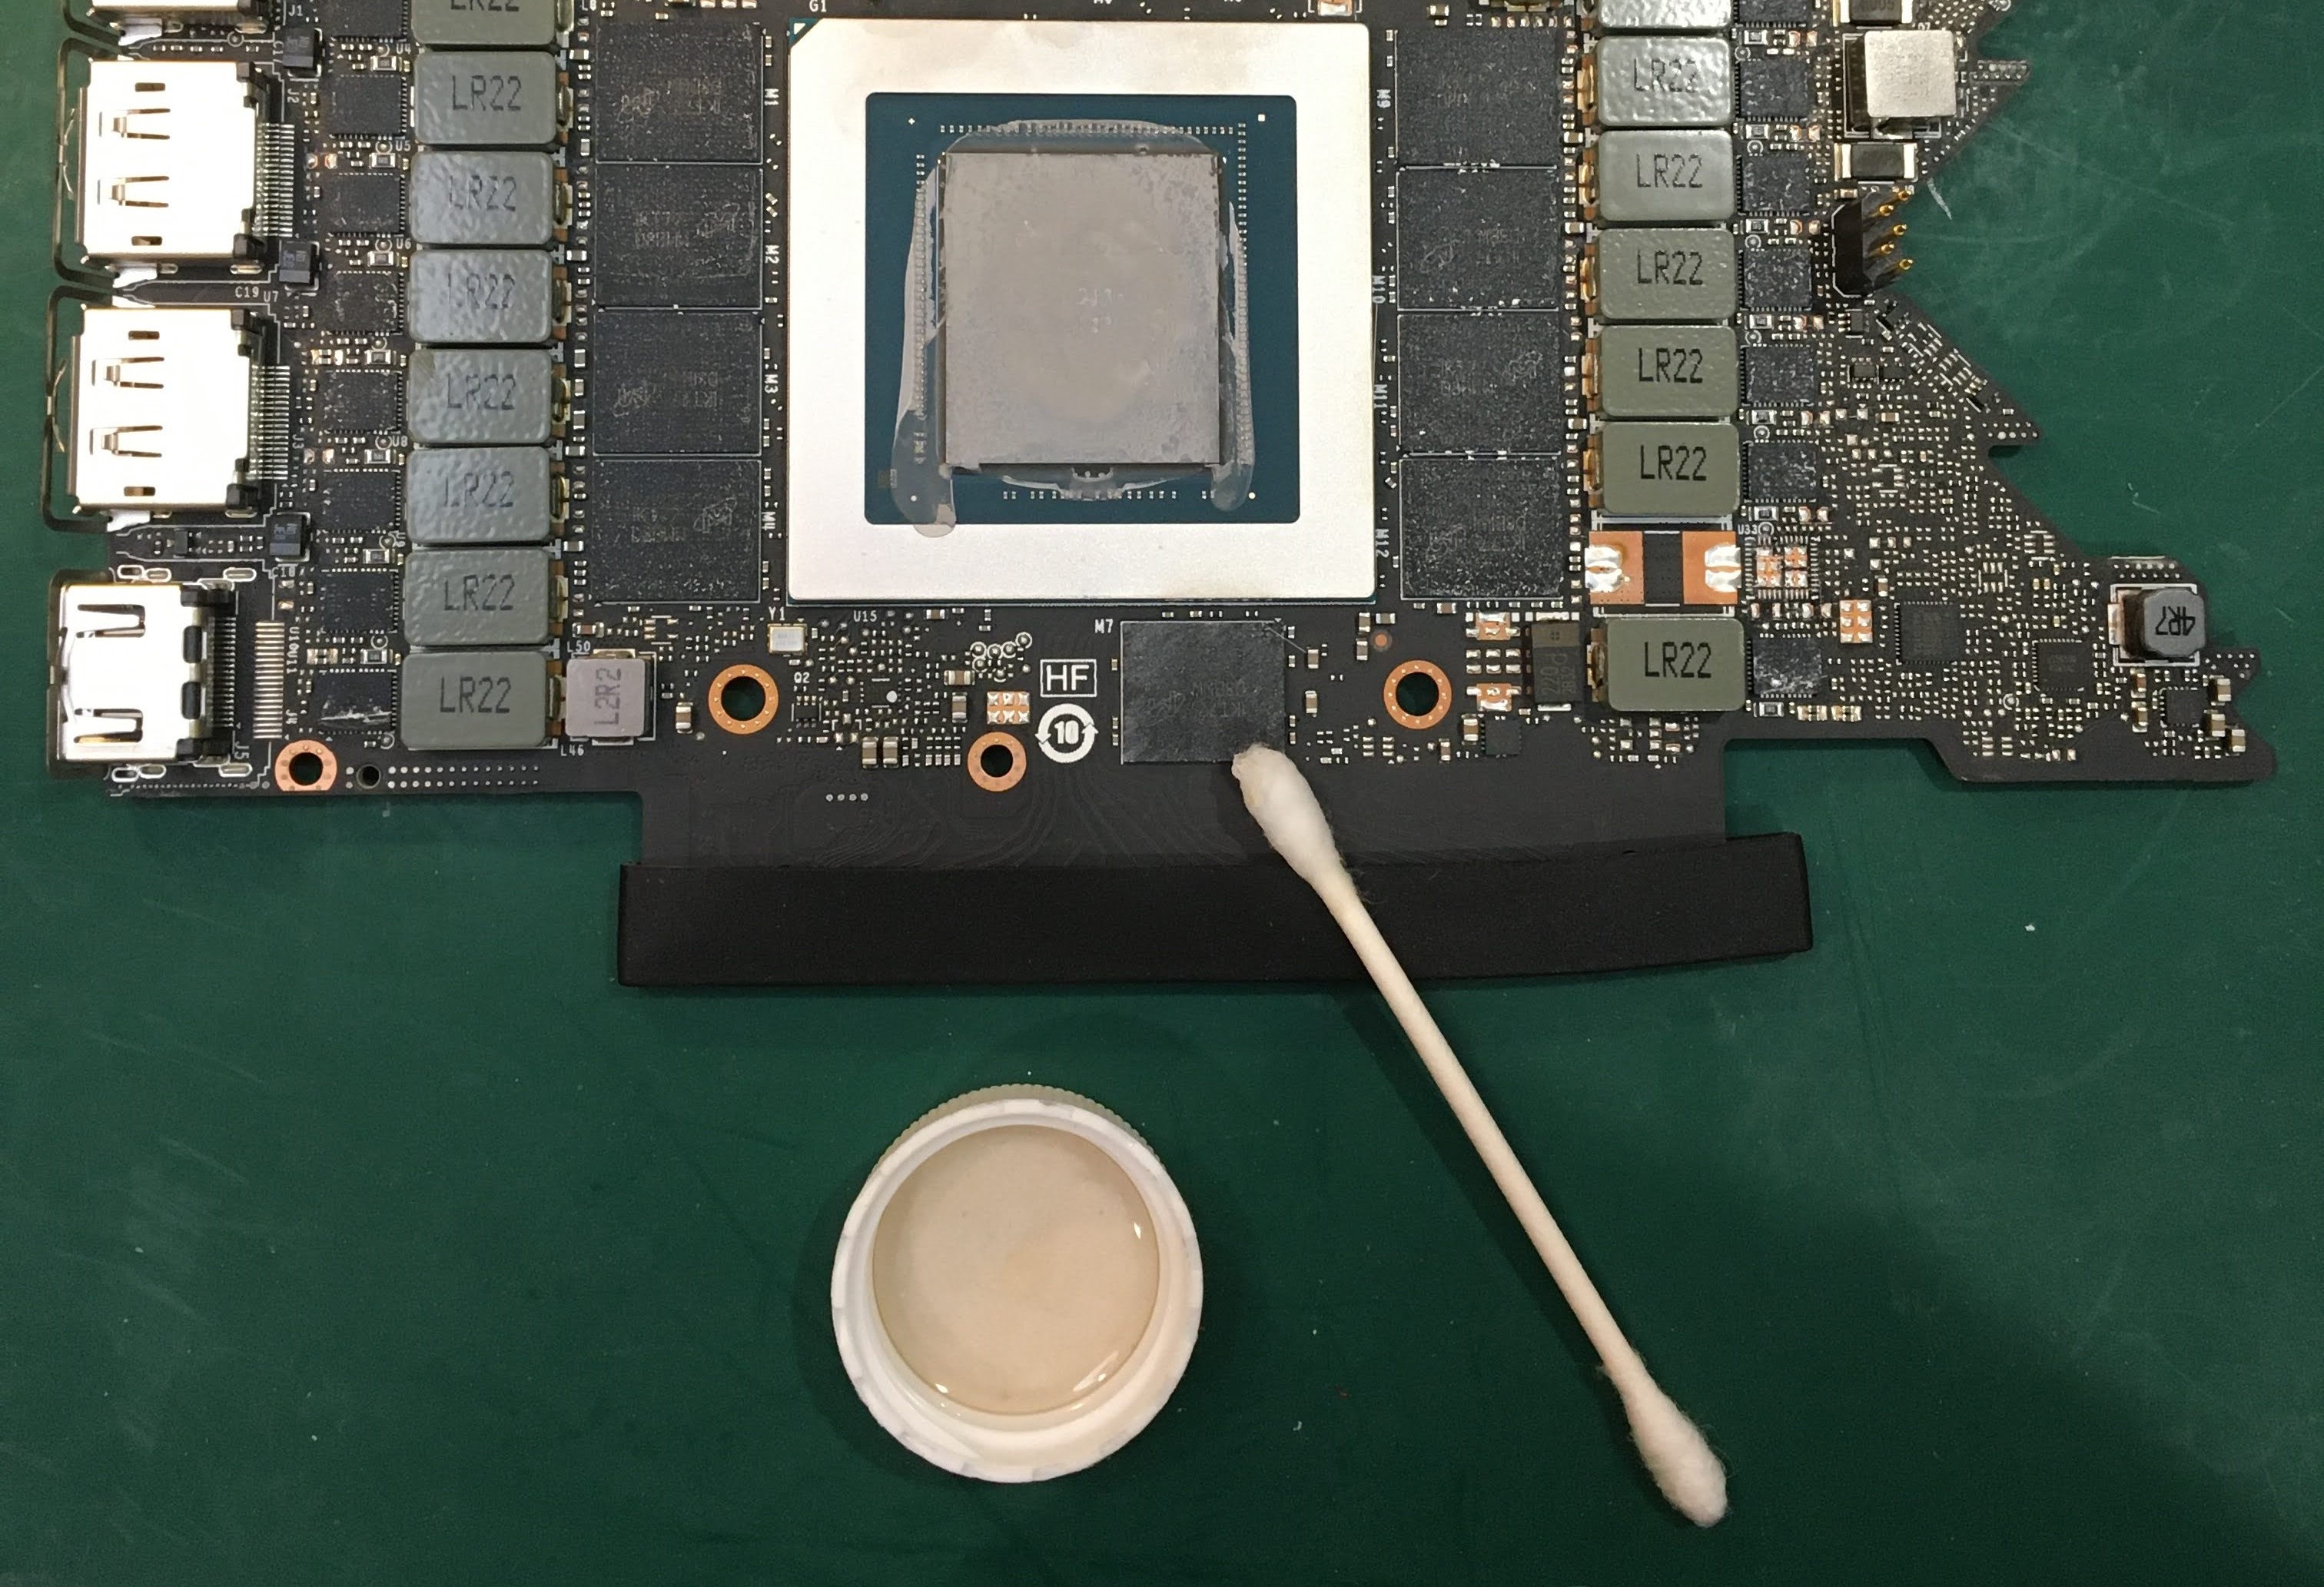
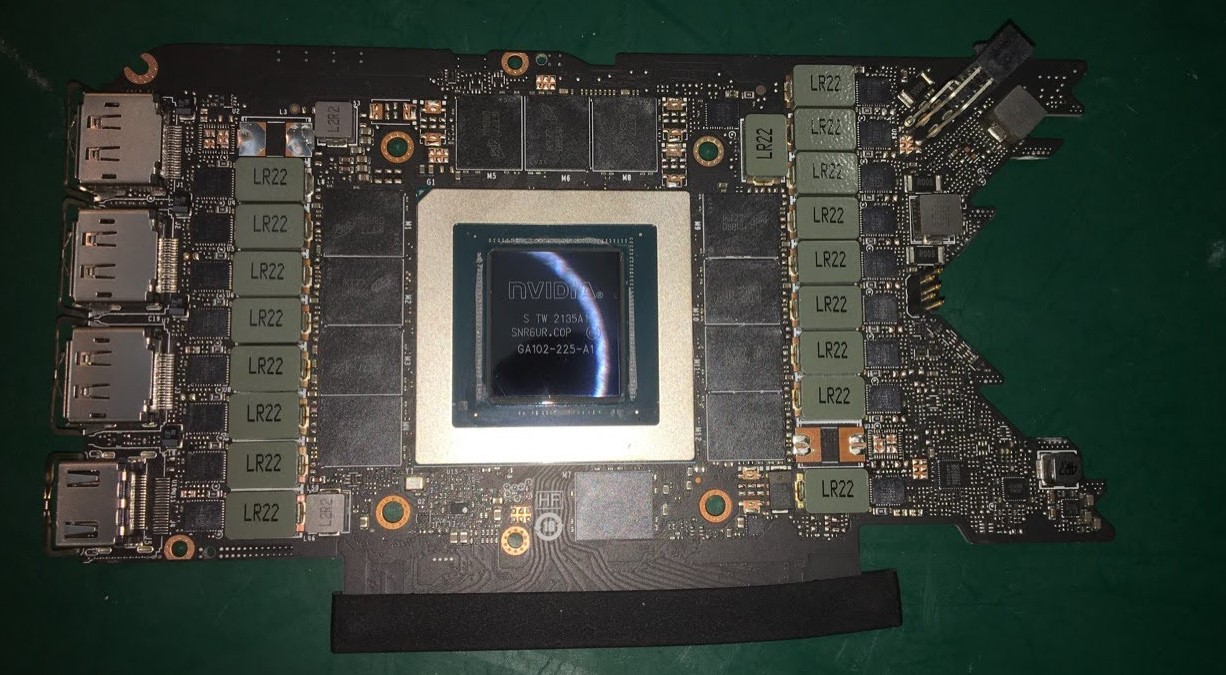 Here, you can see the die is clean and sparkling. When wiping down the memory modules, take care to also clean the surrounding Voltage Regulating Module components.
Upgrade
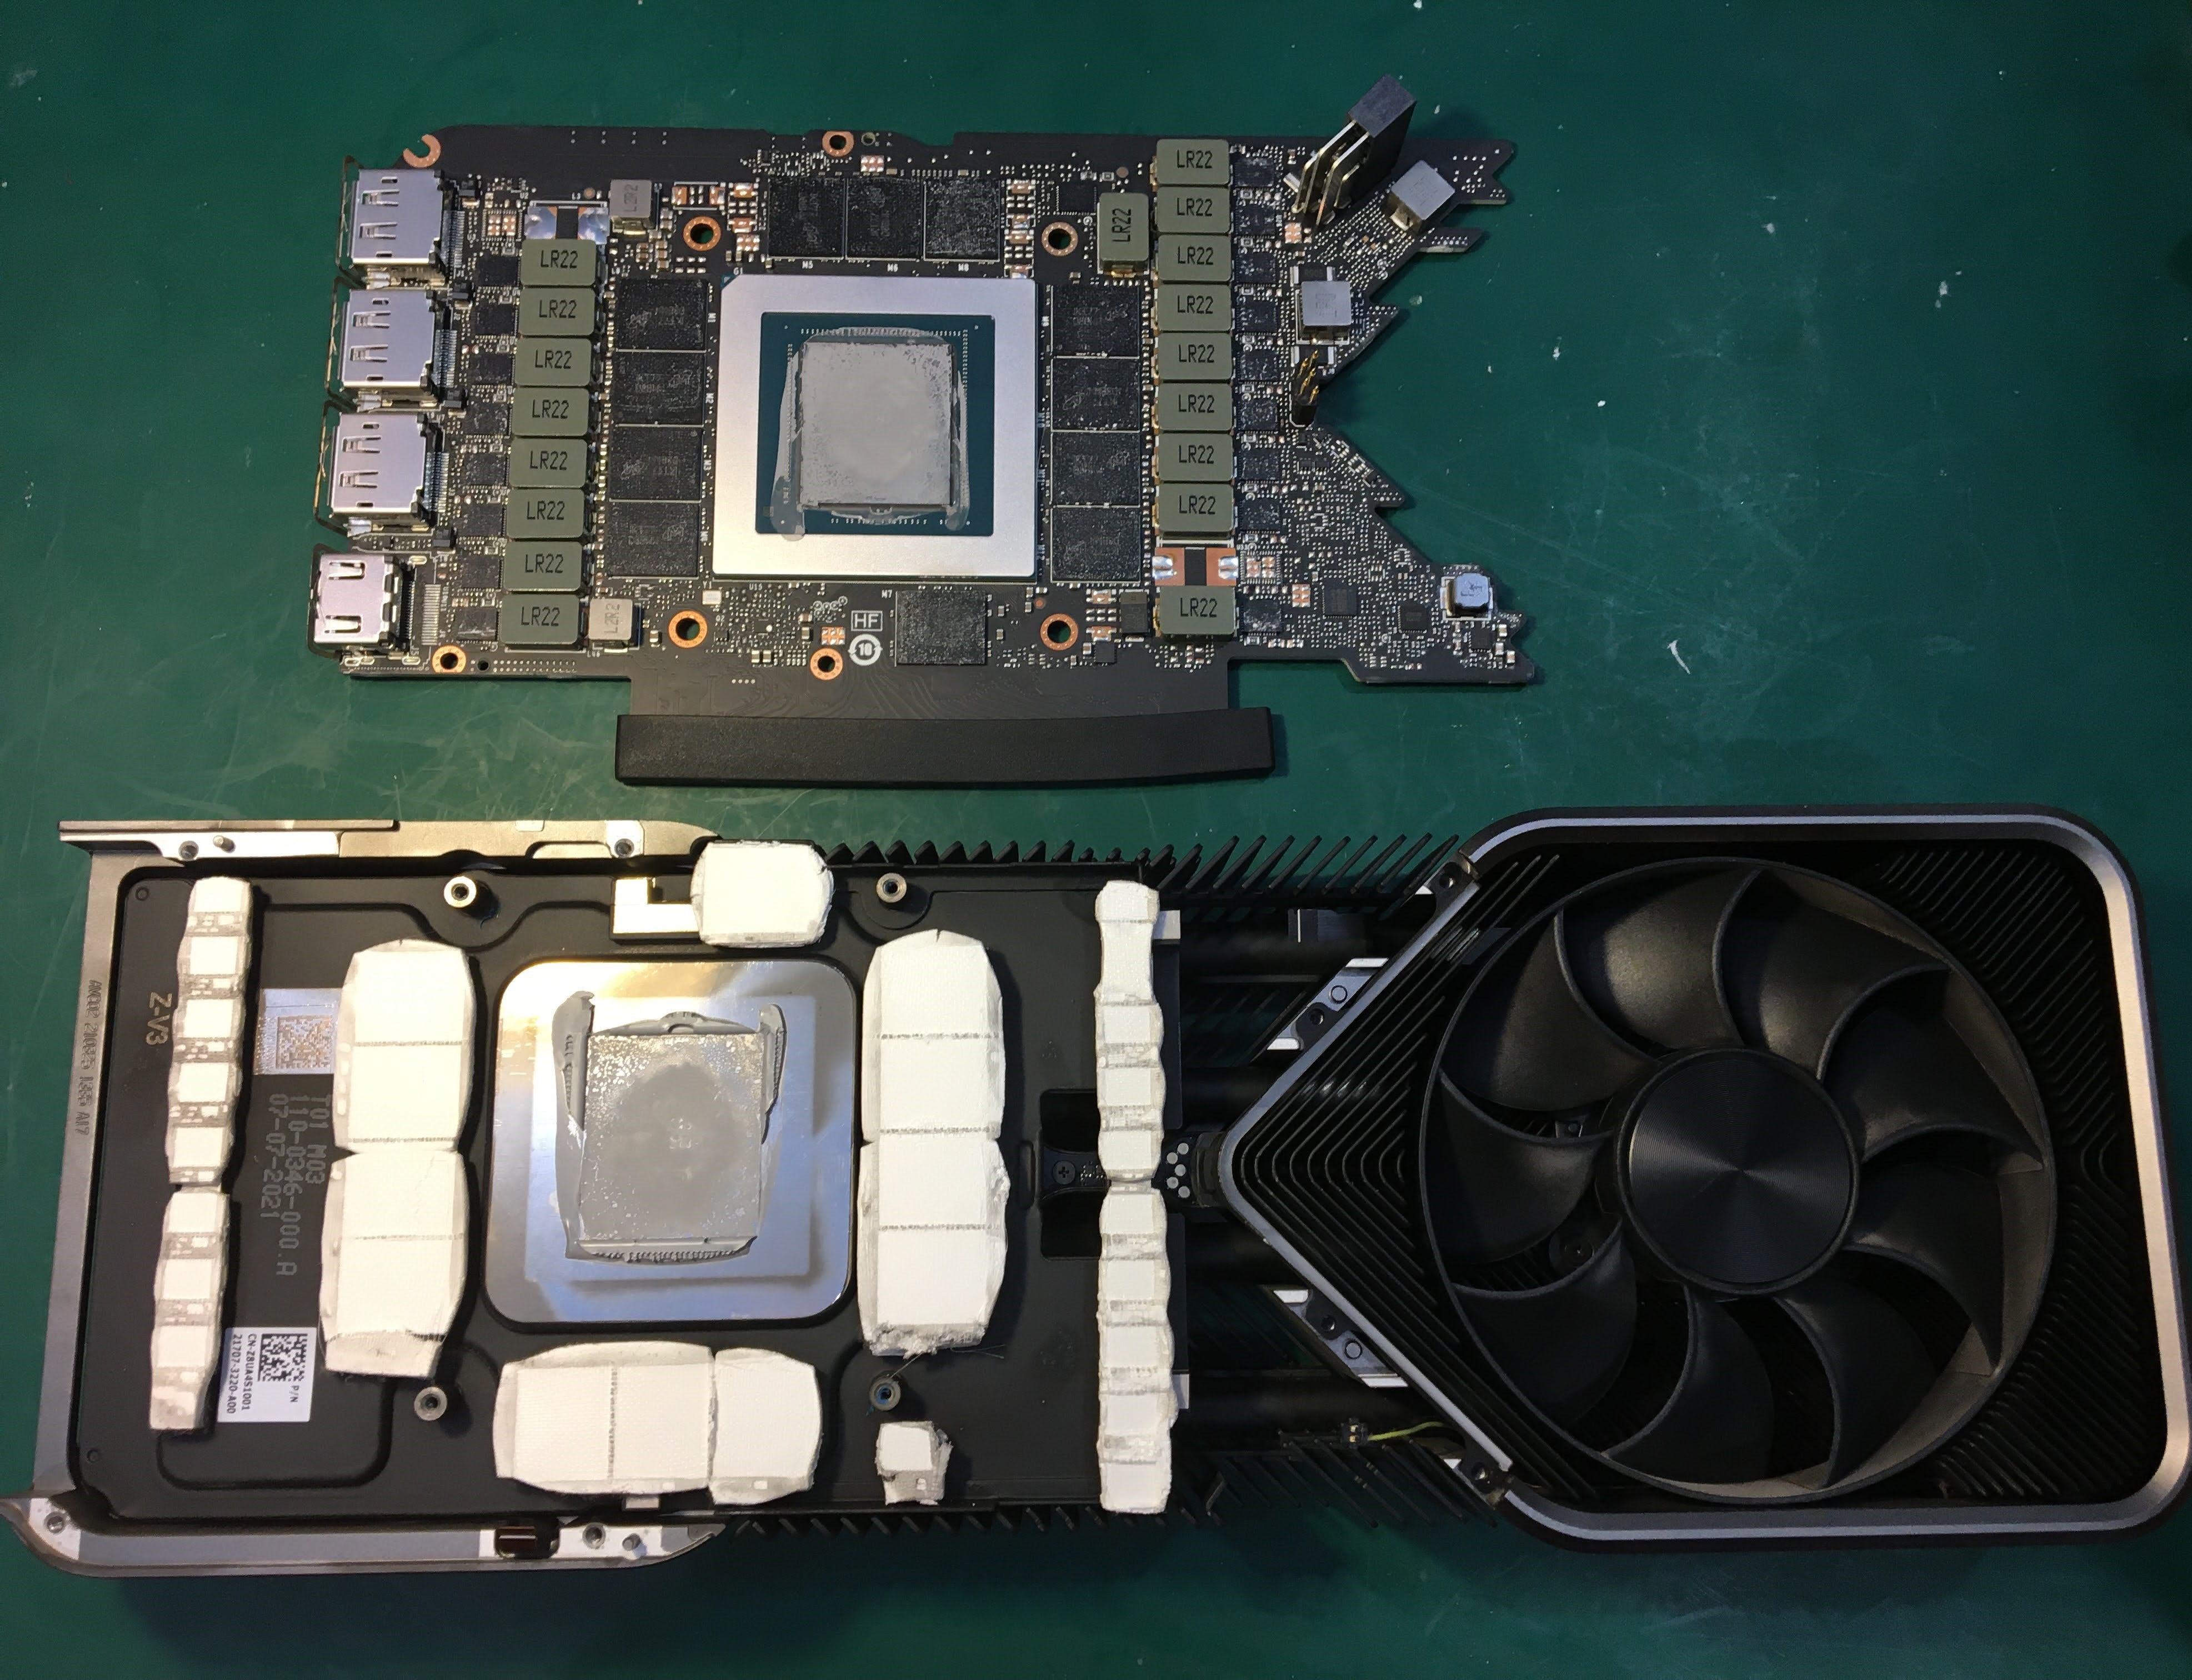
 Using a plastic or wooden scraper to remove old thermal pads from the heatsink reveals intricate yet straightforward shapes. These spots, being the only areas in contact with the PCB, are the sole locations requiring 1.5mm thermal pads. Utilizing calipers to measure these shapes simplifies the task significantly.
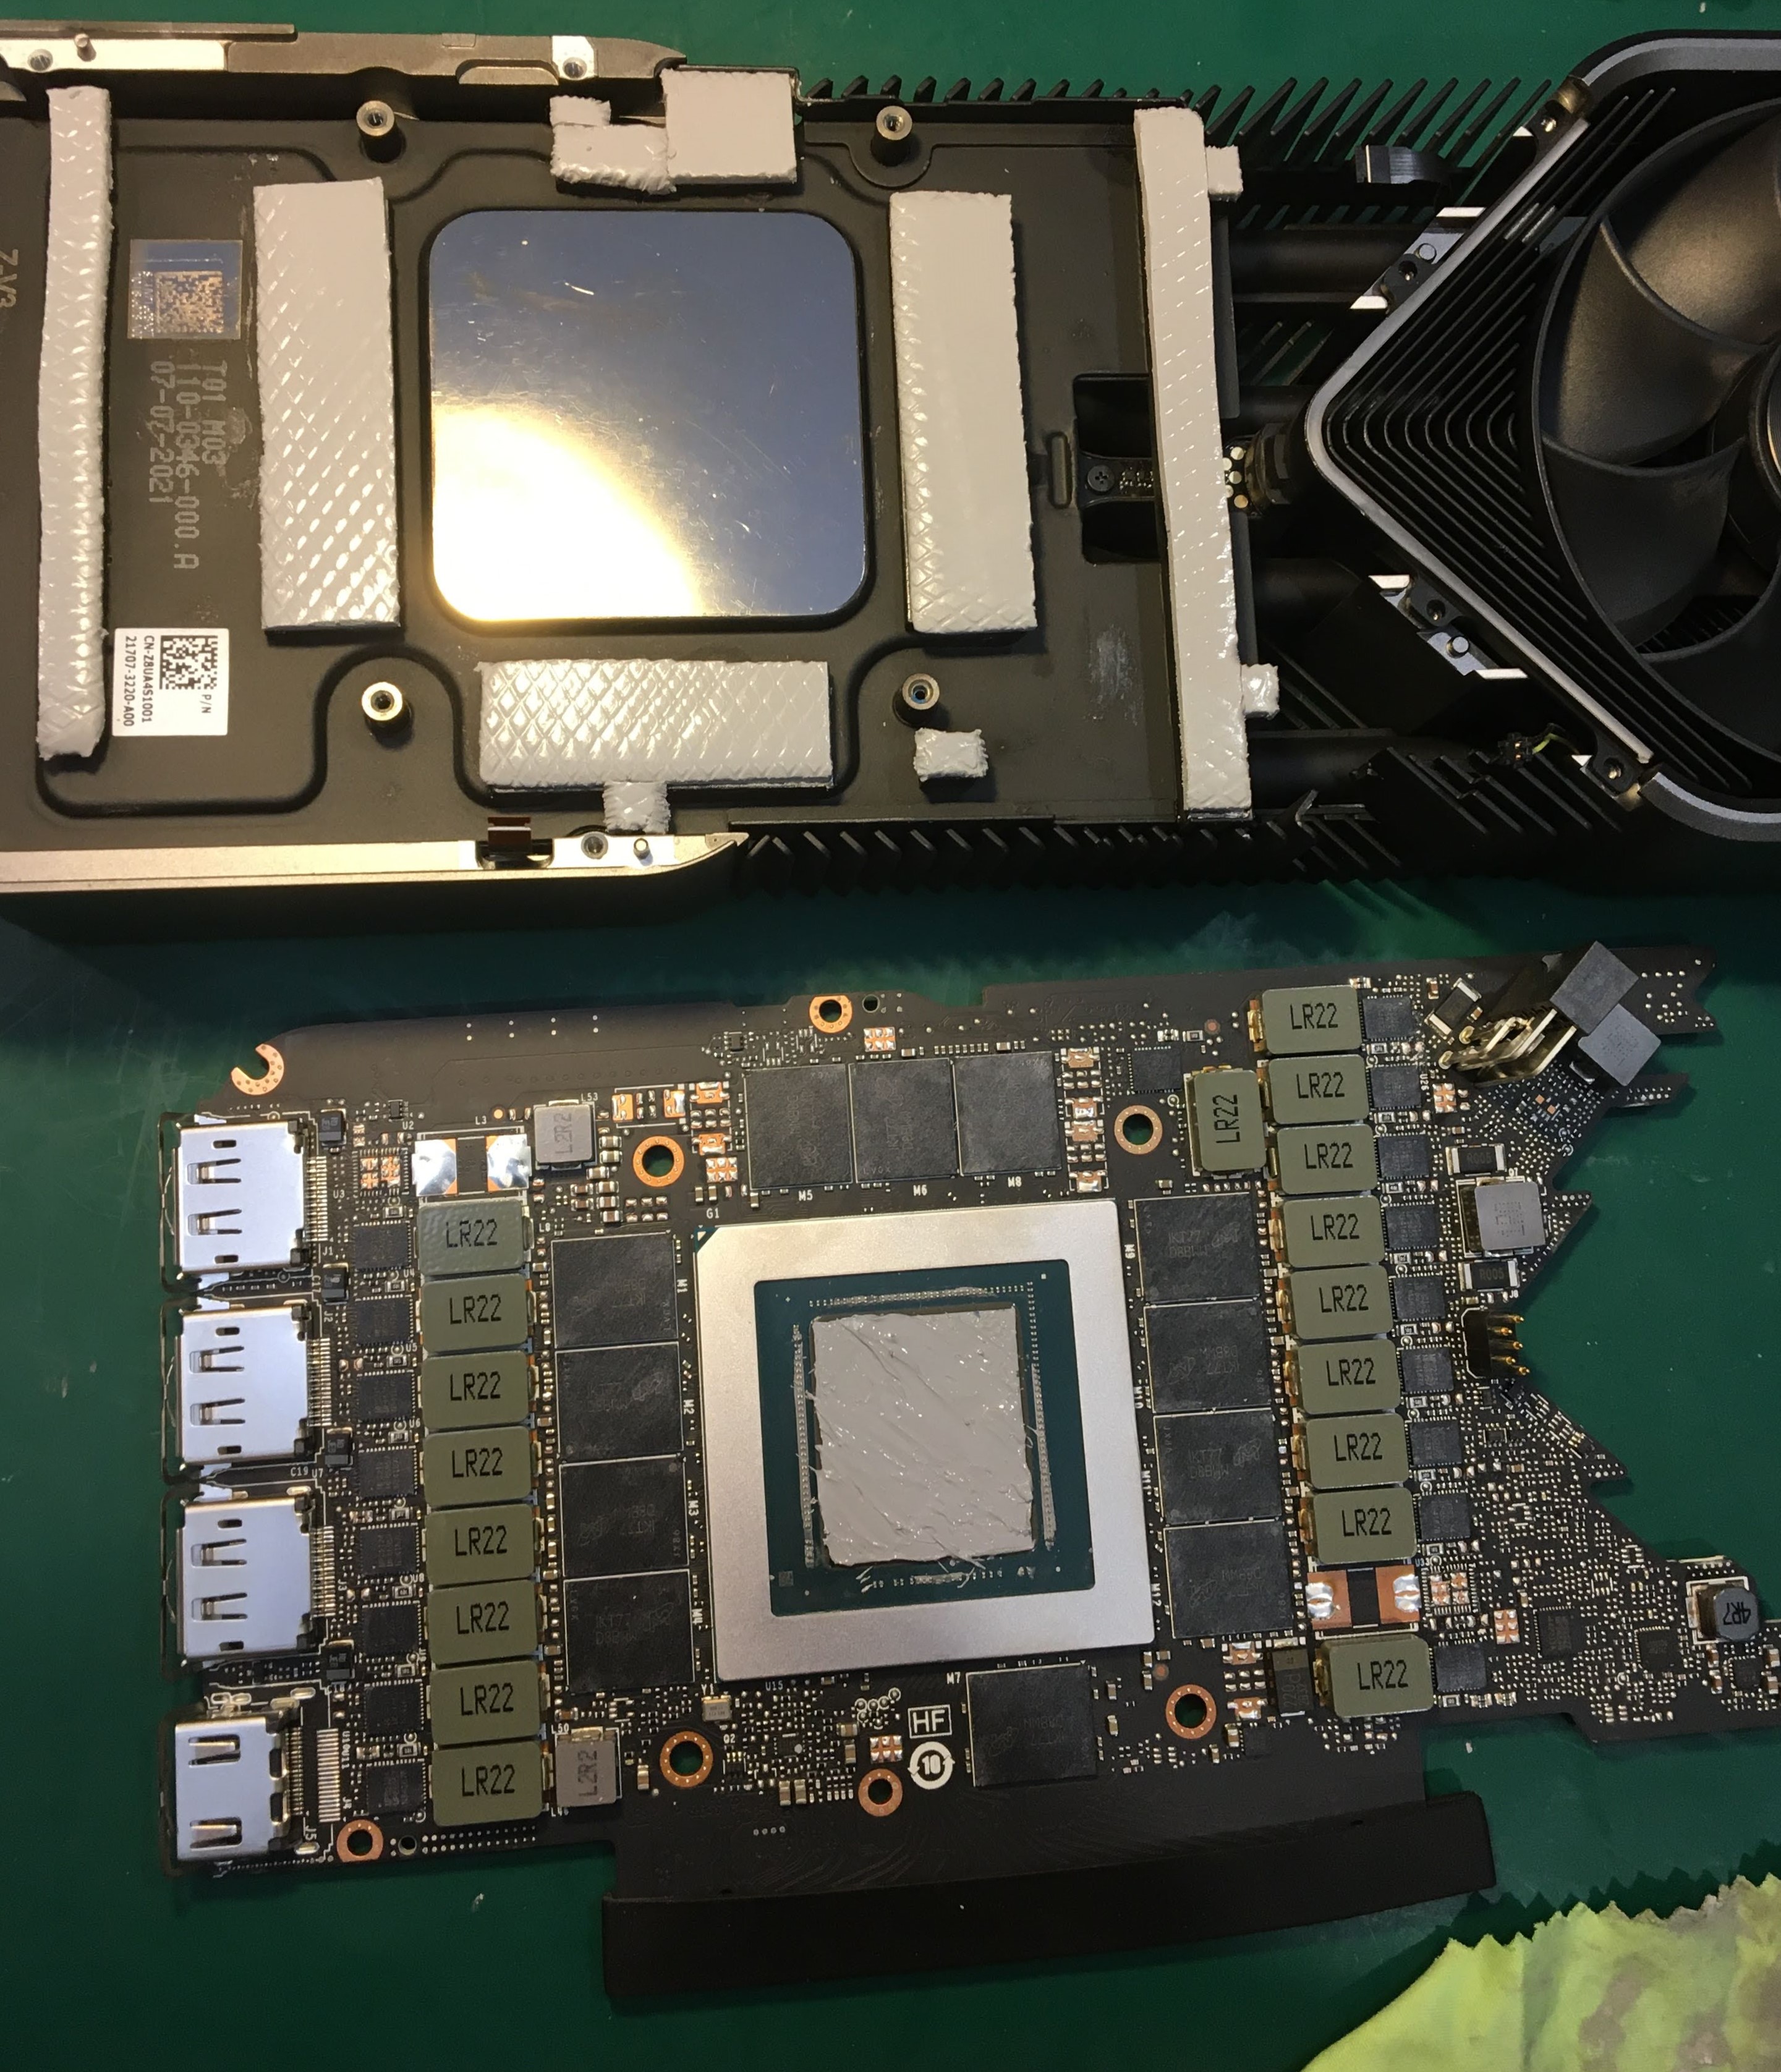 With the heat sink components pads replaced, GPU die is now ready for themal paste. I use a small plastic scraper to ensure I spread a thin uniform layer over the GPU die.
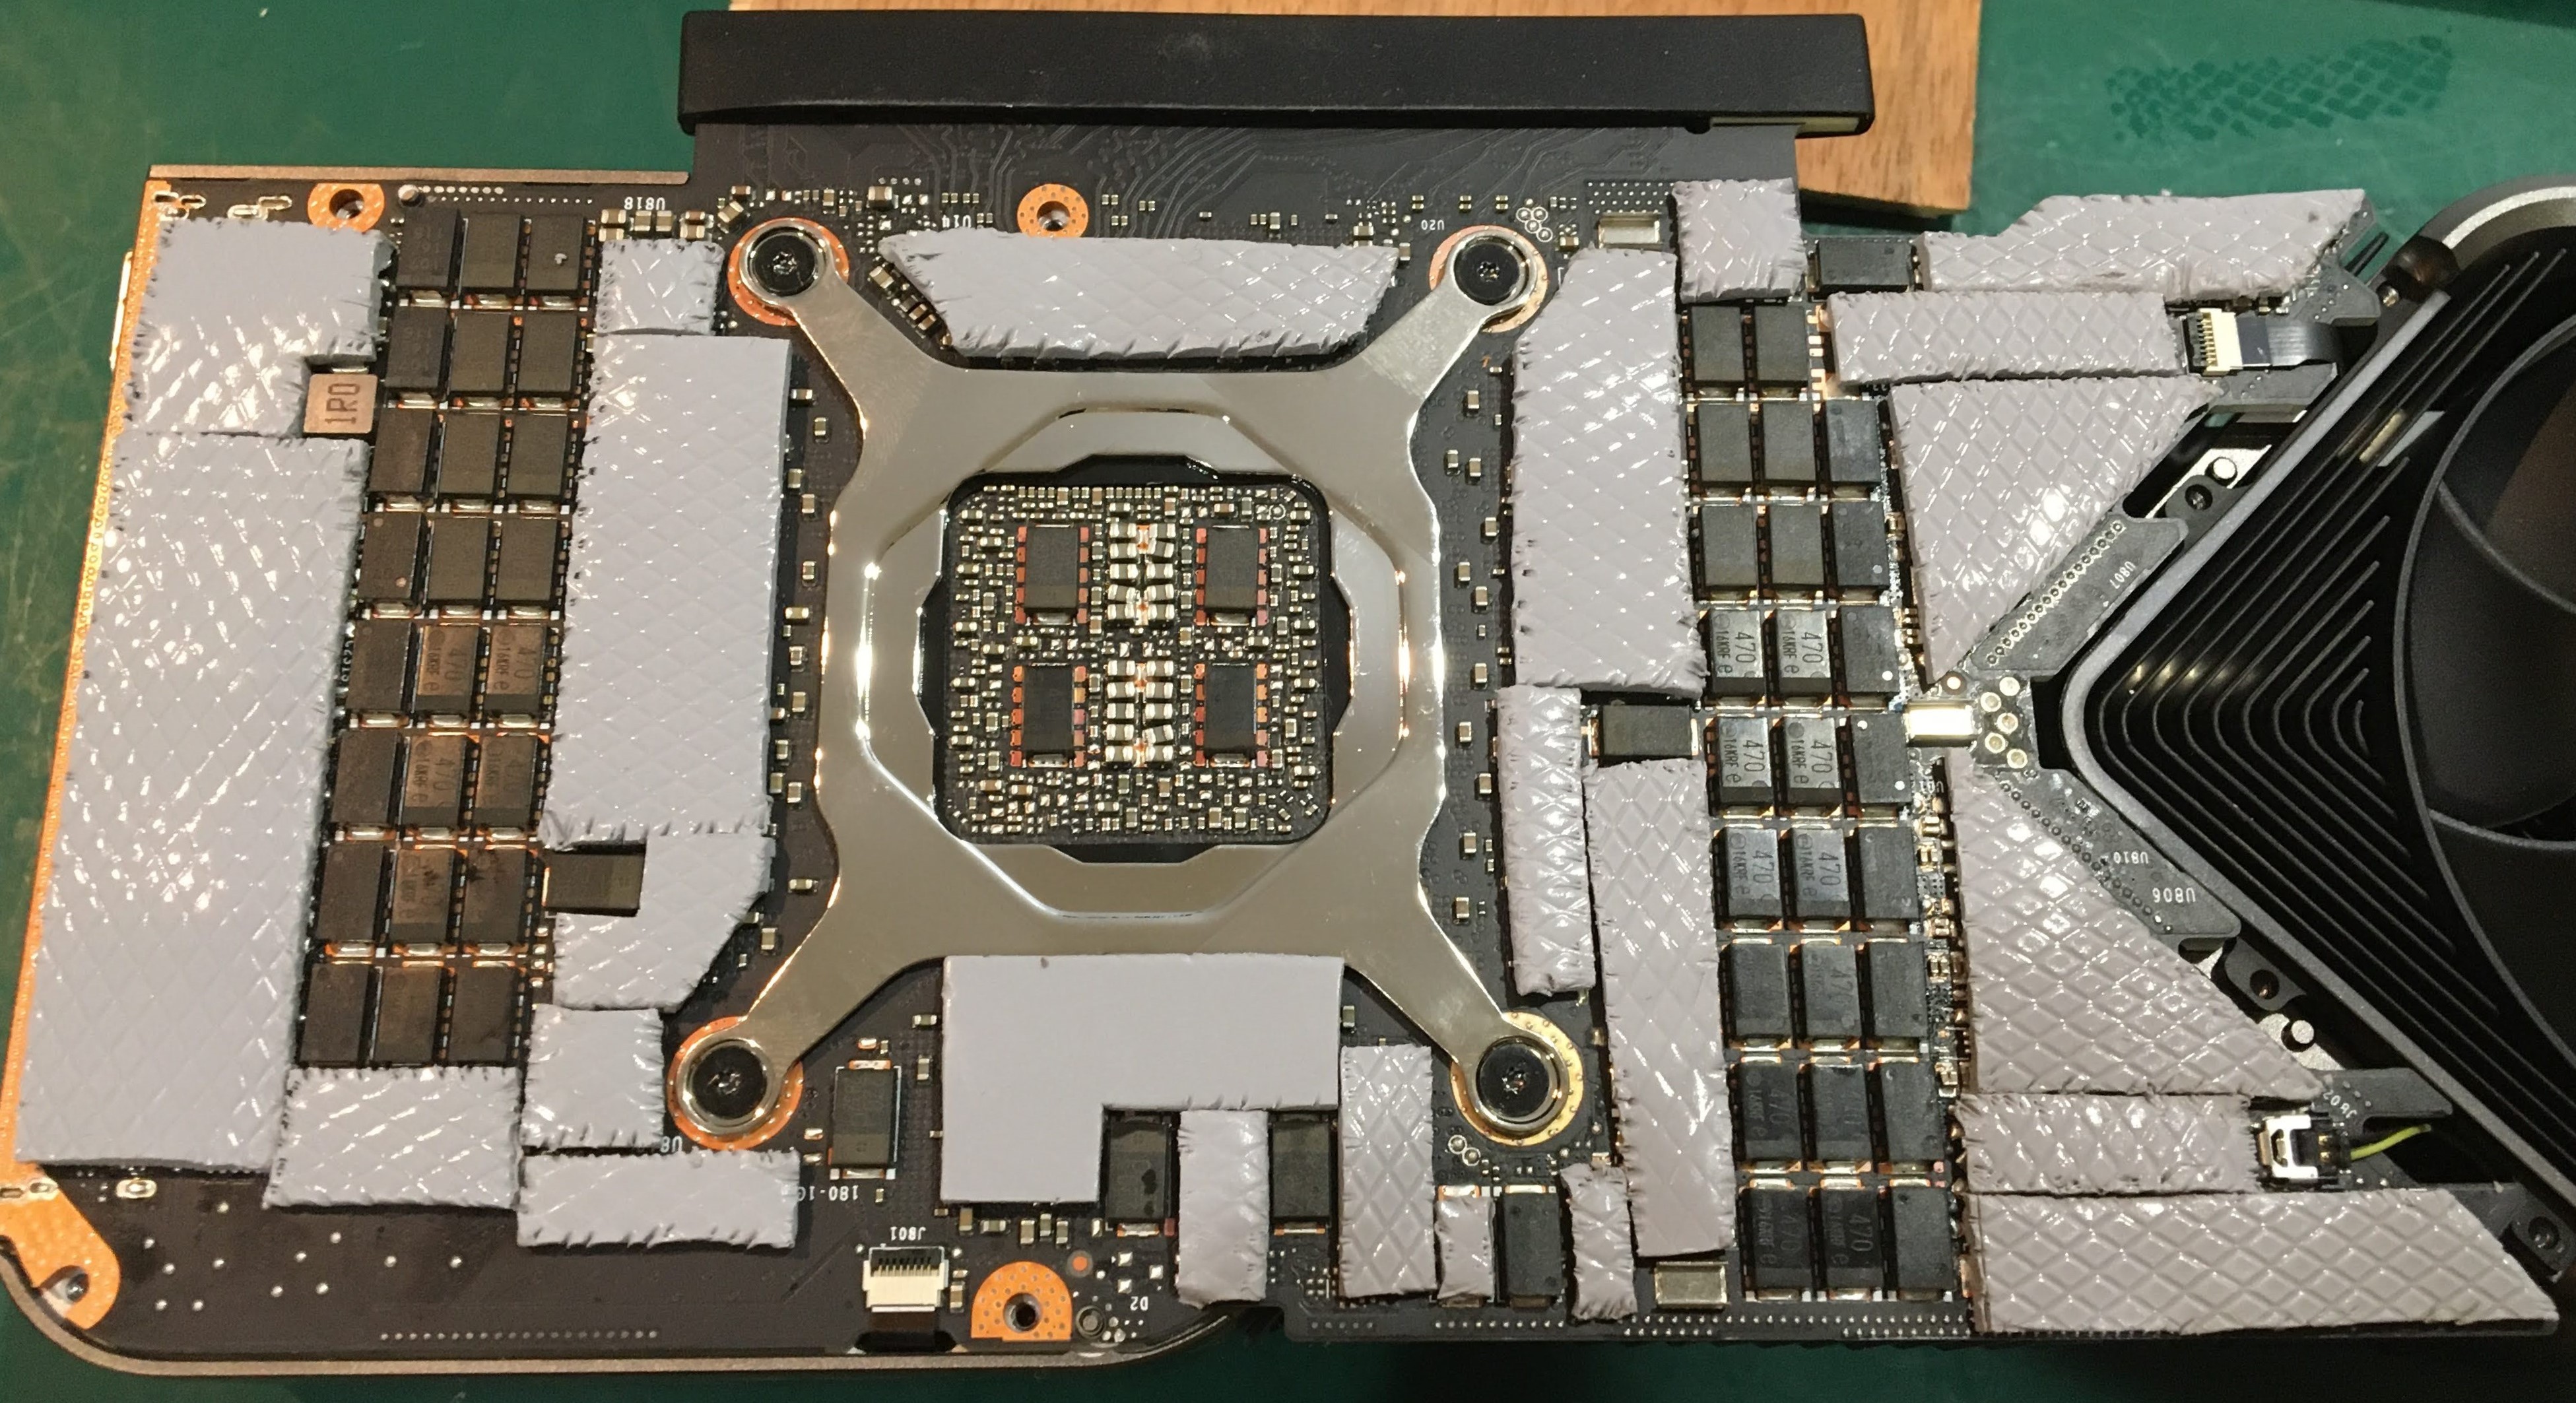 The cost of thermal pads is insignificant compared to the cost of the graphics card. Therefore, I choose to add more thermal coverage than the stock pads provide. I fill all the air gaps on the back side of the card with 2.0mm to ensure the best transfer of heat to the periphery of the card.